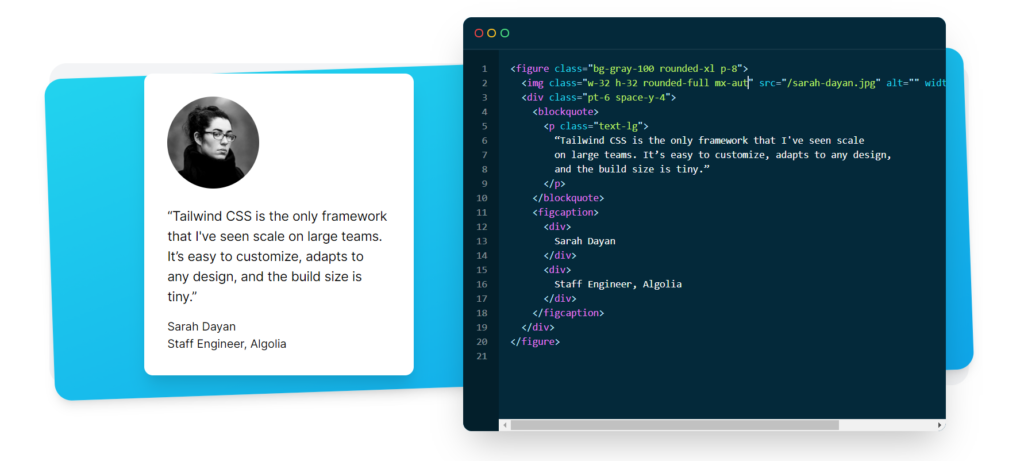
How to add TailwindCSS in Angular 11.2
In this article, I'll quickly show you how to add TailwindCSS to your Angular 11.2 app so you can get building your layouts with it.
Video tutorial
TailwindCSS is a utility first CSS framework which is getting quite popular nowadays. It involves building your layouts using class names, instead of adding custom CSS in your styles.

More on this in a future article!
But sensing its popularity, the Angular team added support for the framework in Angular 11.2 - making it much easier to set it up than it was before.
Let's quickly see how to do this.
Step 1: Installing TailwindCSS
After creating a new Angular project with the Angular CLI, we need to install TailwindCSS first by using the following command.
npm install -D tailwindcss
Step 2: Create the TailwindCSS config file
Next, we need to add the tailwind config file. For that we'll use the tailwind init command as follows.
npx tailwindcss init
You should see a tailwind.config.js file added to your root folder.
Step 2: Add TailwindCSS to your styles
Lastly, we just need to include the styles for tailwind in our styles.scss file with the @tailwind keyword.
@tailwind base;
@tailwind components;
@tailwind utilities;
Great! So Tailwind is now all setup to be used.
Bonus: Add TailwindCSS Intellisense plugin
One nifty trick to improve developer experience is to add the official Tailwind Intellisense plugin to your VSCode. You can search for it in the marketplace and enable it. Following is a link.
https://marketplace.visualstudio.com/items?itemName=bradlc.vscode-tailwindcss
Now you can see TailwindCSS classes appearing in the dropdown as you start to write your class names.
Intellisense helps out a lot when you're just starting out with Tailwind!
Ok, to test this, let's do ng serve and then create a simple button in tailwind incrementally. The final code is below.
<div class="h-screen p-16">
  <button
    class="bg-indigo-500 p-4 rounded-xl text-white uppercase hover:bg-indigo-900 shadow-xl"
  >
    Click here
  </button>
</div>

Nice, the integration works well!
Purging unused styles for production
Now this will work ok as it is. But with tailwind there is a huge styles file included in the project by default. We need to "purge" the unused styles when building for production.
To do this, we need to add our project's paths to the purge section of the tailwind.config.js file.
module.exports = {
  purge: {
    enabled: true,
    content: ["./src/**/*.{html,ts}"],
  },
  ...
};
If you test this now by building for production (ng build --prod), you should see a 3KB or so styles file. If you disable purging, you'll see something close to 2.7 MB of styles! Phew, purging saves the day :)
Conclusion
The Angular team must be commended for bringing in TailwindCSS support to Angular 11.2 as this makes it much easier for the community to start building great apps with it.
For more about how to start building layouts with TailwindCSS, be sure to check back this blog or follow me on twitter to get updated!
Thanks and Bye! :)
Support
You may also like...
🔥New Products
Easy, Dynamic Angular Material Theming!


