I refactored my Angular and Firebase Sign up App to Signals!
In this blog post, we'll take a look at an Angular application I developed that uses Firebase for user authentication with RxJS Observables. We'll refactor the application as we convert from Observables to the Signals API in Angular version 16. Let's dive in!
Video Tutorial
App overview

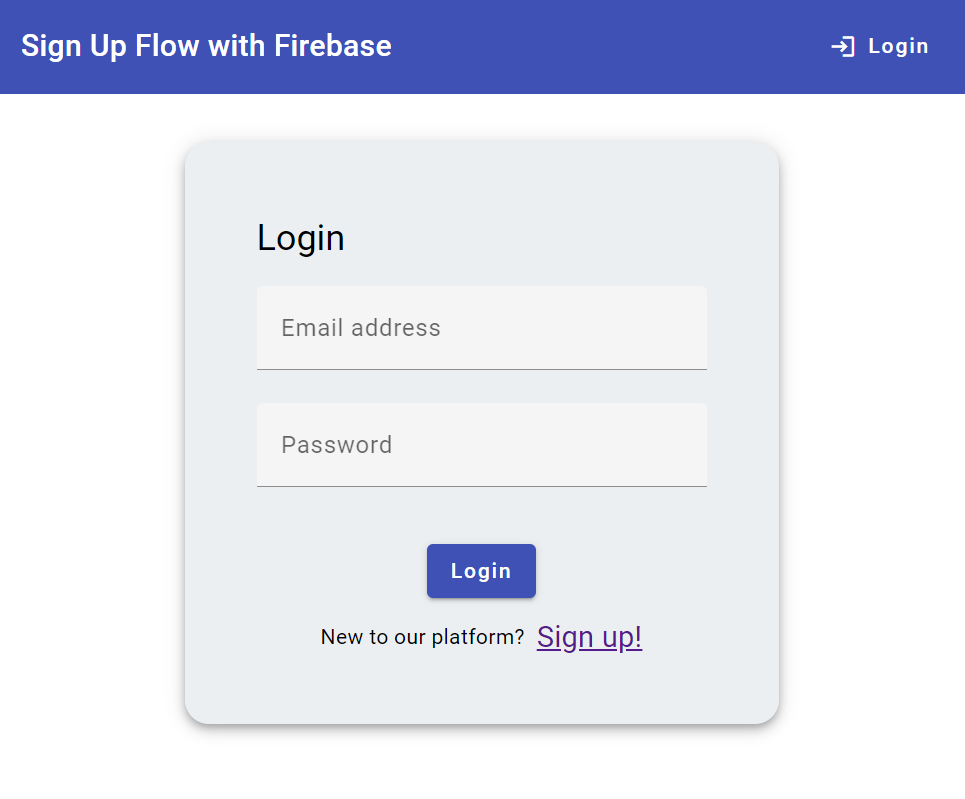
The application subject to this conversion is straightforward. It is a simple user sign-up and login app, with a profile update feature.
Let's dissect this process:
- A user logs in with credentials already registered on Firebase Authentication Service.
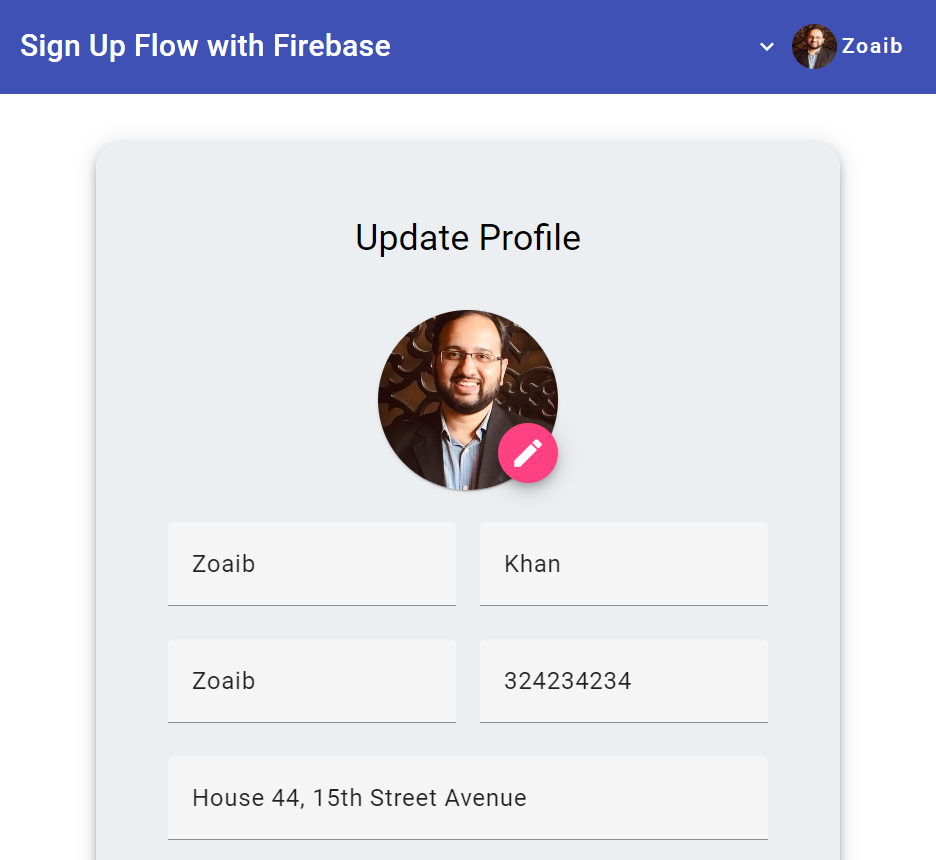
- Upon successful login, the user's details, extracted from Firebase, populate certain fields, including the user's name on the toolbar, and further details in the profile.
- The user is capable of making changes to their profile, including their photo. All modifications made on the profile page promptly reflect on the toolbar.
- On logging out, the user is guided back to the landing page.
The original code, before the refactoring, can be accessed here.

Enough with the appetizer, let's get to the main course!
Setting Ground Rules
Before proceeding with the refactoring, let's lay out some basic ground rules.
Firstly, we aim to have only signals in our components. Why? Because they are simpler and easier to use in our templates.
Secondly, signals should be used for synchronous reactivity, while RxJS should be employed for asynchronous reactivity, especially when we need network calls or time delays, like when interacting with Firebase.
Refactoring the App Component
We'll commence with the app component, which is the main component hosting the toolbar.
public currentUserProfile$?: Observable<Profile | null>;
The app component possesses a user observable currentUserProfile$ that retains the data about the presently logged-in user received from the user service. Our mission is to convert this observable into a signal.
Inspecting the user service reveals that currentUserProfile$ is an observable shaped by combining two observables. The first is the authenticated user we fetch from Firebase, and the second is the specific user data we get from Firestore using the authenticated user's UID.
currentUserProfile$ = this.authService.currentUser$.pipe(
  switchMap((user) => {
    if (!user?.uid) {
      return of(null);
    }

    const ref = doc(this.firestore, "users", user?.uid);
    return docData(ref) as Observable<ProfileUser>;
  })
);
The important question is - do we need to convert this composite observable into a signal?
Indeed, we need to convert it to ensure the component can use it. However, we also need the RxJS stream because it handles asynchronous reactivity well.
Point to note is that Signals are not here to entirely replace RxJS. They can coexist in the codebase.
With this understanding in mind, we'll maintain this observable stream, but restrict its visibility to private:
private currentUserProfile$ = this.authService.currentUser$.pipe(
    switchMap((user) => {
      if (!user?.uid) {
        return of(null);
      }

      const ref = doc(this.firestore, 'users', user?.uid);
      return docData(ref) as Observable<ProfileUser>;
    })
  );
Right after that, we'll introduce a public signal to interoperate with the RxJS currentUserProfile$ observable. The toSignal function is provided in the @angular/core/rxjs-interop package.
currentUserProfile = toSignal(this.currentUserProfile$);
The currentUserProfile signal will update every single time the observable stream dispatches a value. Then we can proceed to update the app component:
user = this.usersService.currentUserProfile;
Next, we just need to ensure that the app component template uses the signal's value. We can safely remove the async pipe we were using for the observable.
<ng-container *ngIf="user(); else loginButton">
  <button mat-button [matMenuTriggerFor]="userMenu">
    <span class="image-name">
      <img
        width="30"
        height="30"
        class="profile-image-toolbar"
        [src]="user()?.photoURL ?? 'assets/images/image-placeholder.png'"
      />
      {{ user()?.displayName }}
    </span>

    <mat-icon>expand_more</mat-icon>
  </button>
</ng-container>
Great!
Updating Interactions with the User Profile Signal
After the app component, the other components that utilize the observable currentUserProfile$ include the home and profile components. The process of switching them to use the new signal produced is akin to what we just did with the app component.
So we can search for the observable and replace those instances with the new signal. We need to do this in the home and the profile component in our case.
The profile component is using the observables in multiple places. First let's look at the uploadFile function.
This function is taking in the user object from the template because that is a good way to do it when using observables.
Hint: you don't need to use subscribe when you do this, which is a best practice!
For signals, we don't need to subscribe and can get the value whenever we want. So we can remove the user parameters from the function and simply replace it with the user signal's value.
uploadFile(event: any) {
    const uid = this.user()?.uid;
    if (uid) {
        ...
    }
}
Much cleaner, don't you think? Also update the same in the template!
<input #inputField hidden type="file" (change)="uploadFile($event)" />
Utilizing Effects with Reactive Forms
In the initialization process of the profile component, the profile form data preloads with the currently logged-in user's information. With signals, if we were using the template-driven forms, we could have simply used the signal value directly in the templates.
However, given that the profile component uses reactive forms, an effect becomes necessary.
The effect, created in the constructor of the profile component, enables form manipulation and side effect tasks that don't affect other signal values.
It is always called whenever the signal changes. So even if the user data is changed while the user is on the profile page, the details will be immediately reflected on the form!
constructor(...) {
    effect(() => {
      this.profileForm.patchValue({ ...this.user() });
    });
  }
However, an effect cannot be used to update signals as this may cause cyclic errors among others.
Retaining Asynchronous Operations in Services
Lastly, let's consider if we want to refactor our service functions as well.
signUp(email: string, password: string): Observable<UserCredential> {
    return from(createUserWithEmailAndPassword(this.auth, email, password));
}

login(email: string, password: string): Observable<any> {
    return from(signInWithEmailAndPassword(this.auth, email, password));
}
The methods login() and signUp() convert the Firebase promise-based API into an observable stream using the from() utility. Initially, the conversion to observables was done for the sake of uniformity due to RxJS's pervasive use across the application.
Now that we are switching to signals, it would seem fitting for us to revert to the original promise-based API of Firebase.
Note that refactoring is not exactly necessary. As per the ground rules set, RxJS is apt for handling asynchronous operations, and these functions fall right into that category. Thus, you have the flexibility of deciding whether to carry out the conversion or not.
Wrapping Up
That brings us to the end of converting the Angular application from using RxJS Observables to the Signals API. You can now give your application a spin, test the login and profile update flows, and see that everything operates just fine.

In the next post, I have refactored the service functions to promises with the async-await syntax. This is because it is more familiar to beginners and those coming from a Javascript background.
Thanks for tuning in, and I hope you found this tutorial useful. Remember, Signals are not here to replace RxJS but to exist beside it and make the app development process simpler.
The complete code for this tutorial is available on this github repo.


