
Angular material tabs with lazy loaded routes
Tabs are a great UI pattern to divide up complex content of your web app into easily digestible pieces. You can use a few tabs or several tabs, each catering to a different section in your app.
Angular Material components provide a nice looking tabs component to use in your apps. The docs provide several good examples of their usage.
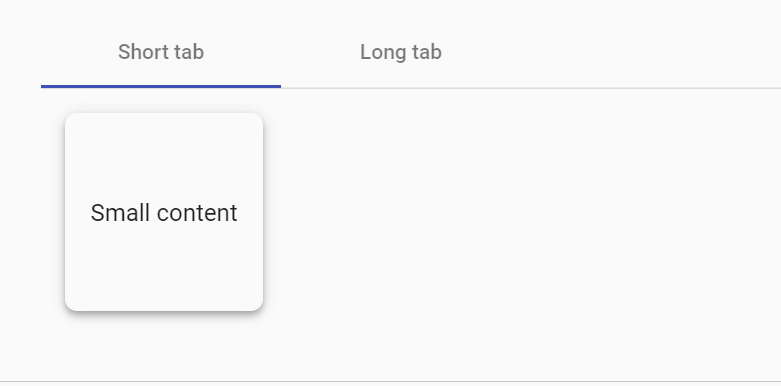
However, in my experience, it only serves small apps well, which don't have much tab content to show.
Why material tabs pose a problem for large apps?
As your app grows in size and complexity, your tab content or sections will also grow. And so will your load and render times, since tabs content is loaded eagerly by default.
As a result, users who were only interested in some tabs, end up downloading all of the data for the other tabs for no reason. Ideally, we would want each tab to load its content when it's actually accessed!
Lazy rendering of tabs content
To mitigate this, the Angular Material team seems to provide a way to add "lazy rendering" to the angular material tabs content. This is less known, but can be done by adding matTabContent attribute inside of an ng-template for each tab's content (check here for the docs).
Does it solve our original problem though? Sadly, not completely. The tab's content is rendered lazily, but is still part of our original app bundle and not fetched/loaded at runtime like a lazy loaded module.
This is important because without this, as you add more tabs and content, your app's bundle size will keep growing to new highs each time you add a section.
Our tab sections need routes!
The other problem with using the angular material tabs component is that we cannot link tab content to routes. We probably want this if we're using the tabs for top level navigation or we want the user to easily link to a specific tab section in our app.
Unfortunately, there is no straightforward way to do this when using material tabs in its typical usage.
Creating a tabbed view with lazy loaded routes
To resolve both these issues, I'll show you a way to create a tabbed view like the Angular Material tabs, but with the added feature of routes for each tab and lazy loading for each tab's content!
Our final result is below.
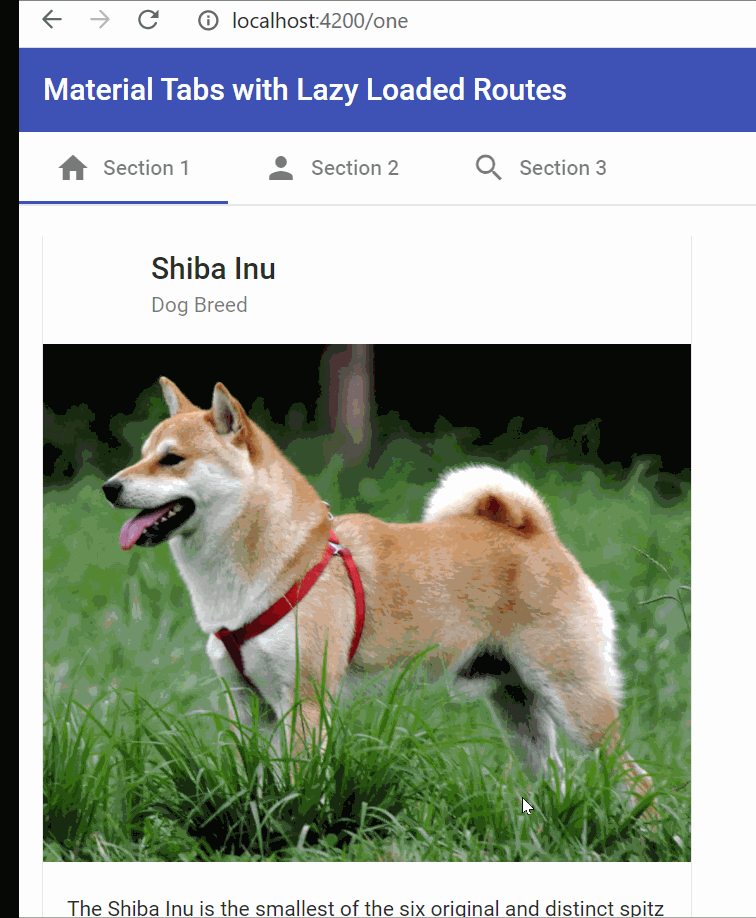
Our final tabbed view with lazy loaded content as modules
Setting up the project
Let's first set up the project by creating a new Angular app and adding Angular Material to it. We can use the following Angular CLI commands.
ng new angular-material-tabs
ng add @angular/material
Be sure to enable Angular routing in the prompts that you get, because we'll be needing it to setup our routes.
Let's also add the toolbar and tabs module required for our app in our app.module.ts.
@NgModule({
  declarations: [AppComponent],
  imports: [
    BrowserModule,
    AppRoutingModule,
    BrowserAnimationsModule,
    MatToolbarModule,
    MatTabsModule,
    MatIconModule,
  ],
  providers: [],
  bootstrap: [AppComponent],
})
export class AppModule {}
Creating the tab item type and data
It's always good to add an interface type in Angular, so let's do that for our tab items. We'll do it in app.component.ts for now.
export interface TabItem {
  label: string;
  icon: string;
  route: string;
}
And add the data for three sections for this demo.
tabs: TabItem[] = [
    {
      label: 'Section 1',
      icon: 'home',
      route: 'one',
    },
    {
      label: 'Section 2',
      icon: 'person',
      route: 'two',
    },
    {
      label: 'Section 3',
      icon: 'search',
      route: 'three',
    },
  ];
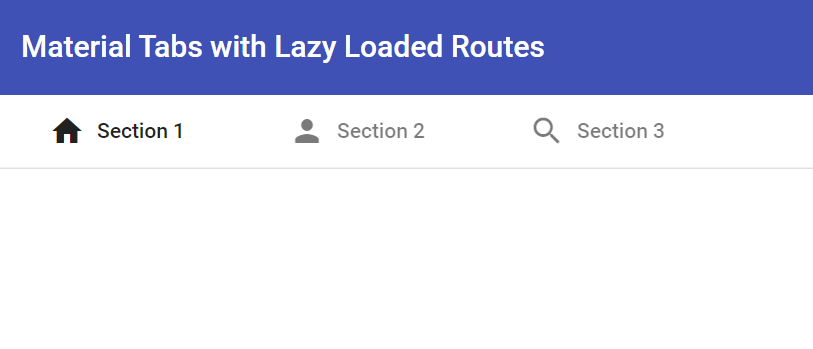
Creating the layout for our tabbed view
Let's add a toolbar and the tabs to our template file as well.
<mat-toolbar color="primary">
  Material Tabs with Lazy Loaded Routes
</mat-toolbar>

<nav mat-tab-nav-bar>
  <a mat-tab-link *ngFor="let tabItem of tabs">
    <mat-icon class="mr-8">{{tabItem.icon}}</mat-icon>
    {{tabItem.label}}
  </a>
</nav>

<router-outlet></router-outlet>
We've added three elements here.
First, we have a simple material toolbar for the title. Second, we have added a nav, with the added directive of mat-tab-nav-bar. Inside of it we're looping through our tabItems array and creating anchor links with the added directive of mat-tab-link.
Both of these combined give our navbar the visual appearance of a material tab component, though they're bit different in nature.
Lastly, we add the router-outlet component, which provides a placeholder for Angular to load our route contents.
So far so good! We have a nice looking tabbed interface now, minus the routing. Let's create our tab contents as modules.
Adding our tab content modules and making them lazy loaded
Creating modules for tab content will enable us to lazy load them based on the route visited.
To add a module and one component inside it, we can use the following commands. This is for the first tab's content.
ng generate module section-one
ng generate component section-one/section-one
In the section-one.module.ts file, we'll add the route config like this.
@NgModule({
  declarations: [SectionOneComponent],
  imports: [
    CommonModule,
    RouterModule.forChild([{ path: "", component: SectionOneComponent }]),
    MatCardModule,
    MatButtonModule,
  ],
})
export class SectionOneModule {}
I've also added a material card to provide some content to the section one component for completeness.
Great! Now we can do the same for the other two modules. I'm going to skip it here.
Lastly, we need to add the app level routing configuration. This is a pretty standard way of lazy loading modules in Angular (app-routing.module.ts).
const routes: Routes = [
  {
    path: "",
    pathMatch: "full",
    redirectTo: "one",
  },
  {
    path: "one",
    loadChildren: () =>
      import("./section-one/section-one.module").then(
        (m) => m.SectionOneModule
      ),
  },
  {
    path: "two",
    loadChildren: () =>
      import("./section-two/section-two.module").then(
        (m) => m.SectionTwoModule
      ),
  },
  {
    path: "three",
    loadChildren: () =>
      import("./section-three/section-three.module").then(
        (m) => m.SectionThreeModule
      ),
  },
];
In case you've no idea about lazy loading modules this way, please refer to my article on code splitting techniques in Angular.
https://zoaibkhan.com/blog/how-to-add-code-splitting-to-your-angular-app/
Add the routerLink directive
Now that we're all set up with the modules and lazy loading, let's add the routerLink to our template file and see this in action.
<a mat-tab-link *ngFor="let tabItem of tabs" [routerLink]="tabItem.route">
  ...
</a>
Let's test this with our Chrome Developer tools open, so we can see if the lazy loading works as we want it to.
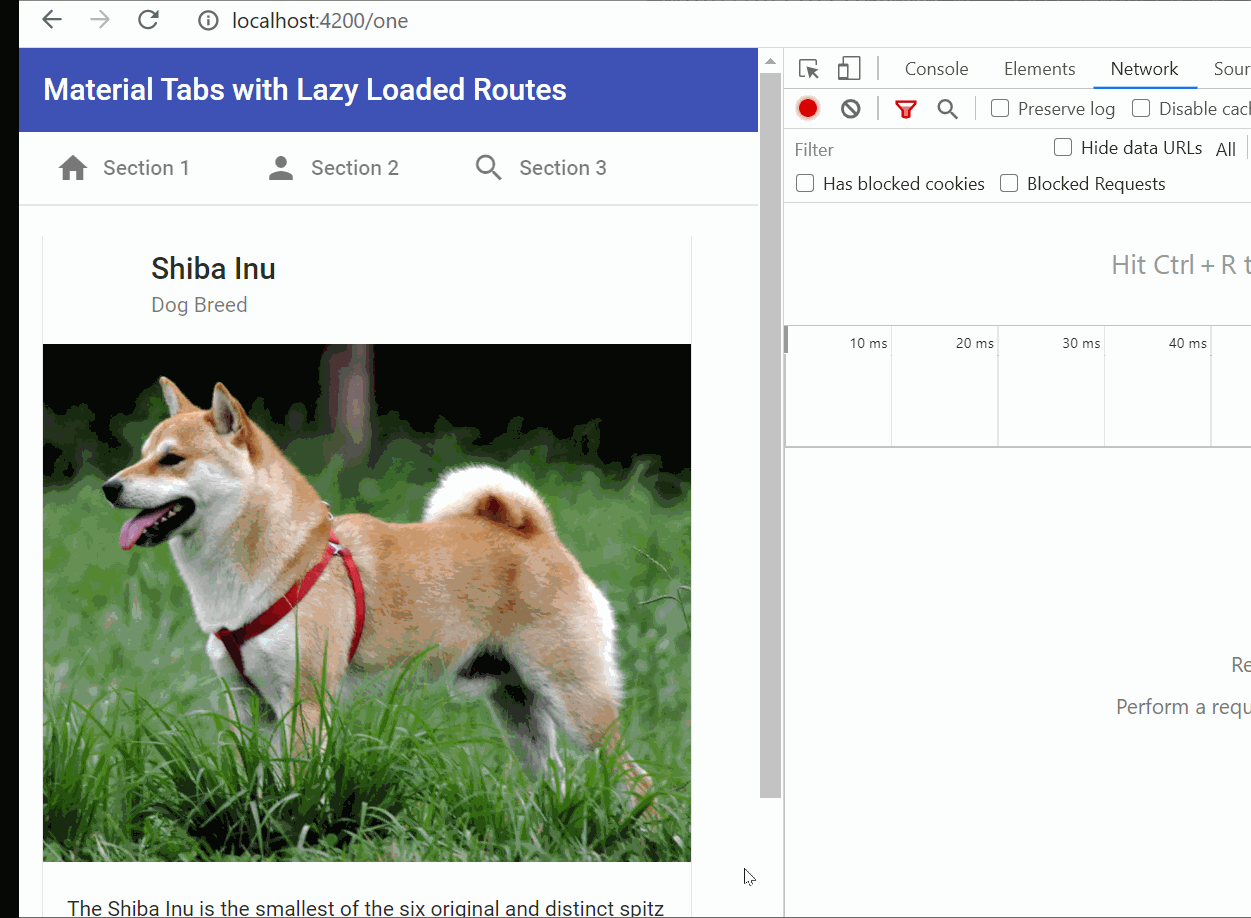
Looks great! As you can see, our tabs now go to our specified route and lazy load our modules "properly" when clicked. This will ensure our app bundle size will remain the same, even if we add several more tabs to the app!
Setting up the active router link
There is one issue though, if you notice closely. We don't seem to have any indication of the currently active tab, even though material tabs give us a nice little ink bar below the active tab.
To add the active indicator, we can use the active directive and pass it a boolean value in our links.
How do we find out which link is active? We can add a activeRouterLink directive, assign it a template variable and use its isActive property. The following code snippet shows us how.
<a
  mat-tab-link
  *ngFor="let tabItem of tabs"
  [routerLink]="tabItem.route"
  routerLinkActive
  #rla="routerLinkActive"
  [active]="rla.isActive"
>
  ...
</a>
To repeat, for each link, we get our routerLinkActive instance as a template variable and then use it to find out whether it is currently active. This is quite handy and saves us time in computing the active route manually.
And voila! We now have a nice looking tabbed view with lazy loaded and routed tab contents.
Conclusion
As you can see creating a scalable tabbed view using Angular Material can be a bit of initial work. However, once you do this you'll reap the reward in the shape of faster loading applications and thin bundle sizes!
I hope this post helps you in creating better Angular apps for everyone to enjoy.
The complete code for this tutorial can be found at this github repository.
If you'd like more tutorials like this, please subscribe to my mailing list, so that I can keep you posted on updates and also tips and tricks that I've learned in Angular over the years.
Thanks for reading. Bye :)


